")
I have had the pleasure of being involved with Leeds BIPC for many years now, they have helped countless business to start up and flourish. I know this for a fact as I’ve photographed quite a few of the products of the people who have used this service.
This is an overview on my talk about how to get professional product photographs using the equipment that you have, this will typically be a mobile phone.
In my previous blog post I have written about what a professional photographer can do for you and your brand. You may think that this post goes against everything that I have said in that post, however for a startup, I (and the BIPC) fully appreciate that money is critical. You may not have the funds to pay a professional photographer just yet. I hope that with the advice of the BIPC and with this guide that your business will be a success, it is then that you may want to re read my previous blog regarding hiring a professional photographer.
In today’s digital age, high-quality product photography is essential for any business. Whether you’re launching a new startup or running a small business, your product photos play a key role in attracting customers and conveying the value of what you offer. Fortunately, you don’t need expensive gear to capture professional-looking images. With a mobile phone, the right techniques, and a bit of creativity, you can take stunning product photos that showcase your brand.
In this guide, we’ll explore tips for taking great product photos with your smartphone, focusing on essential photography techniques like the rule of thirds, leading lines, and the importance of lighting. In this post I will be using the same images shown in my lecture so let’s dive in!
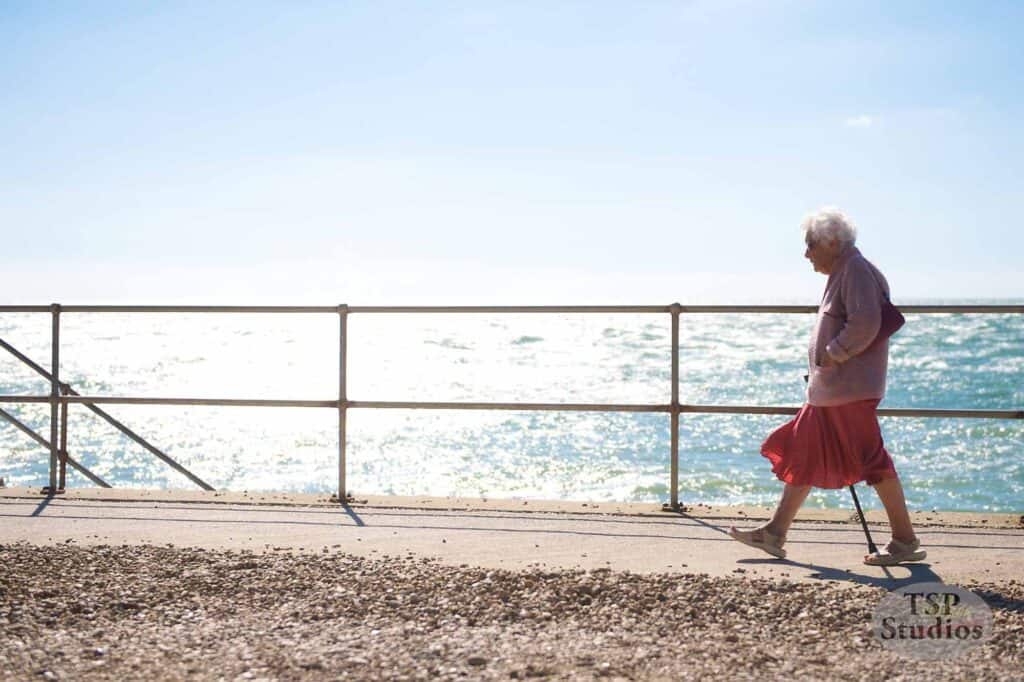
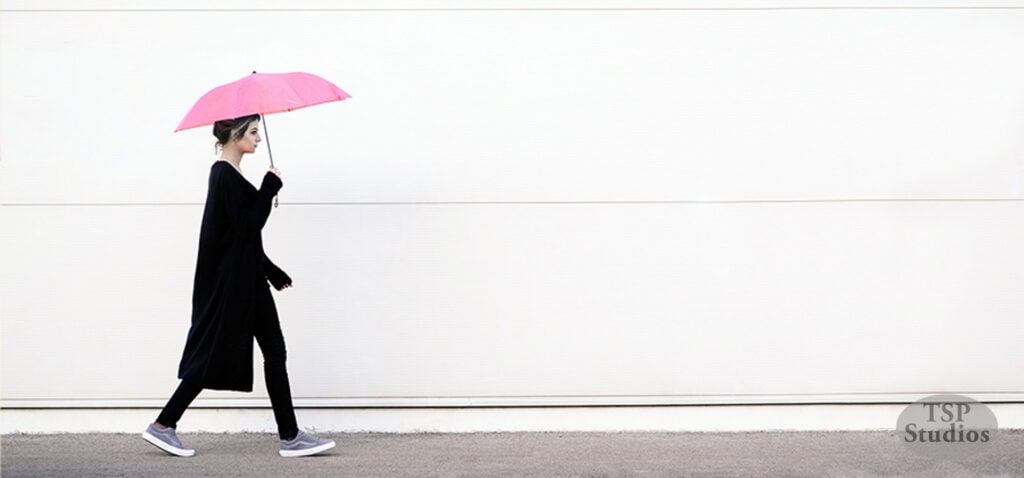
1. Master the Rule of Thirds
The rule of thirds is one of the most fundamental composition techniques in photography. This principle involves dividing your image into nine equal parts using two horizontal and two vertical lines. By placing your subject along these lines or at their intersections, you create a balanced and visually pleasing composition.
Many classic artists, including Leonardo da Vinci and Rembrandt, used the rule of thirds to structure their paintings. This technique draws the viewer’s eye naturally to the most important elements of the image, giving it a sense of harmony.
To use the rule of thirds in your mobile photography:
- Enable the grid: Most smartphones have a grid option in the camera settings. Turn it on to help you align your product with the lines.
- Position the product: Place your product along one of the vertical or horizontal lines or at the intersection points to create a more engaging composition.
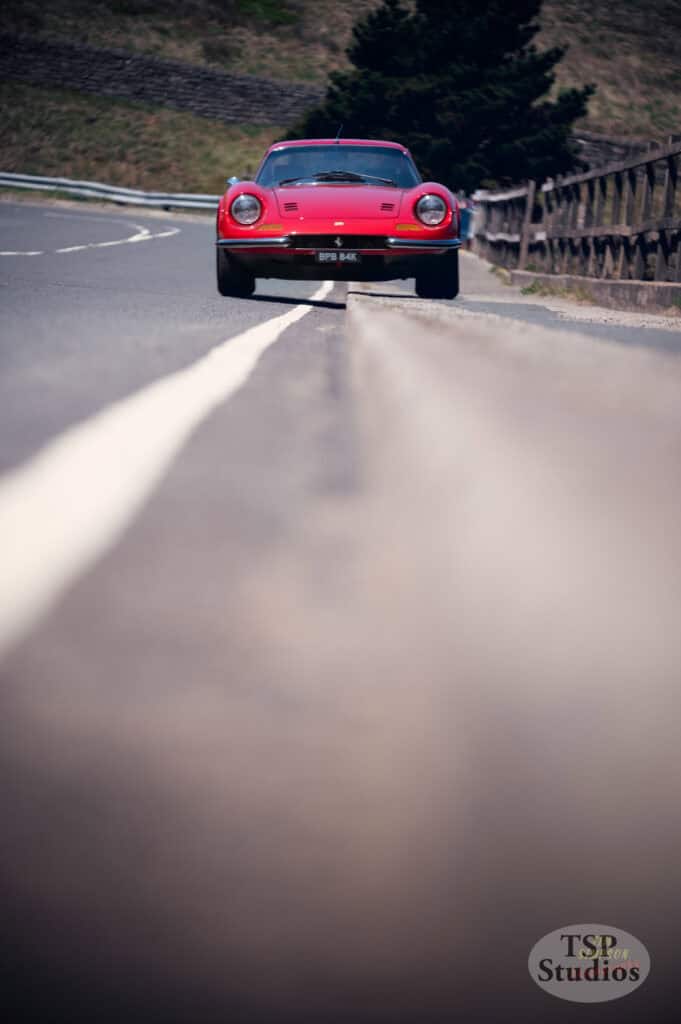
2. Use Leading Lines to Guide the Viewer
Leading lines are another powerful composition tool. These are lines within an image that naturally draw the viewer’s eyes toward the subject. You can find leading lines in the environment around you, such as the edges of a table, the lines of packaging, or even shadows.
To use leading lines in product photography:
- Find lines in the background: Position your product so that natural lines in the environment (such as table edges or fabric creases) guide the viewer’s eyes toward the product.
- Create lines with props: Arrange accessories or product elements in a way that frames the product and leads attention to it.
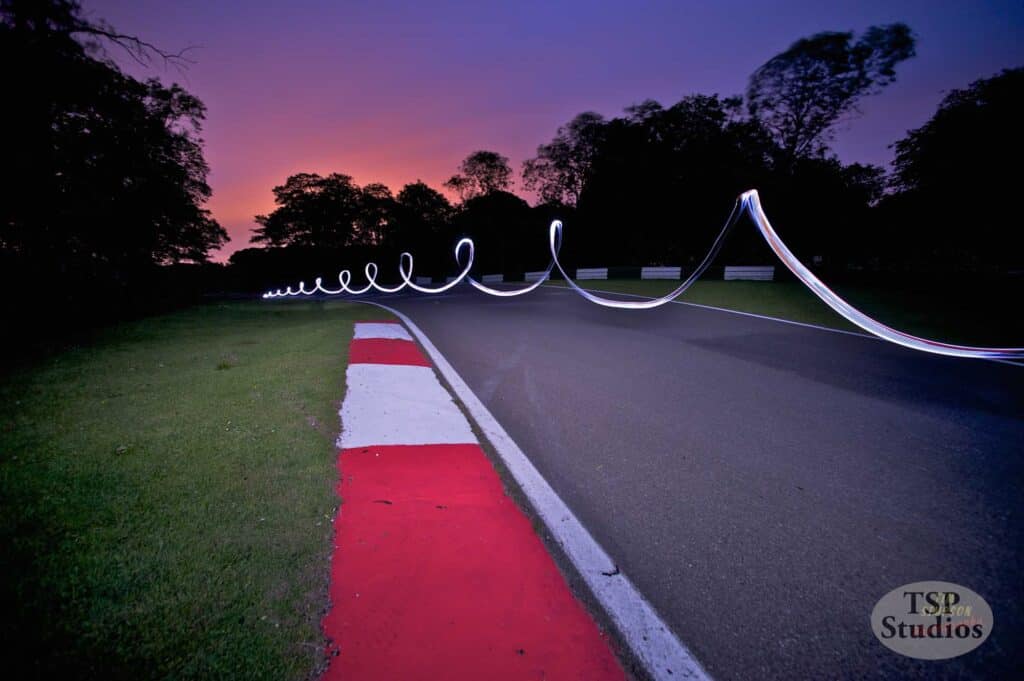
3. Lighting: The Photographer’s Paintbrush
Just as painters use brushes to create atmosphere and mood, photographers use light to achieve similar effects. Lighting is crucial in product photography because it helps define the product’s shape, texture, and quality.
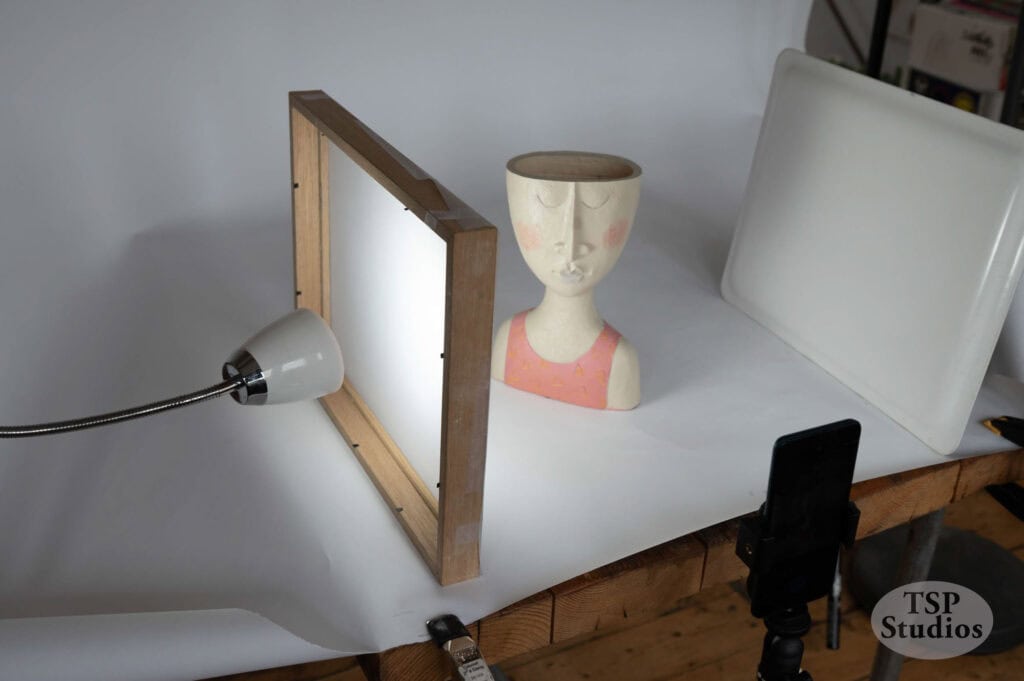
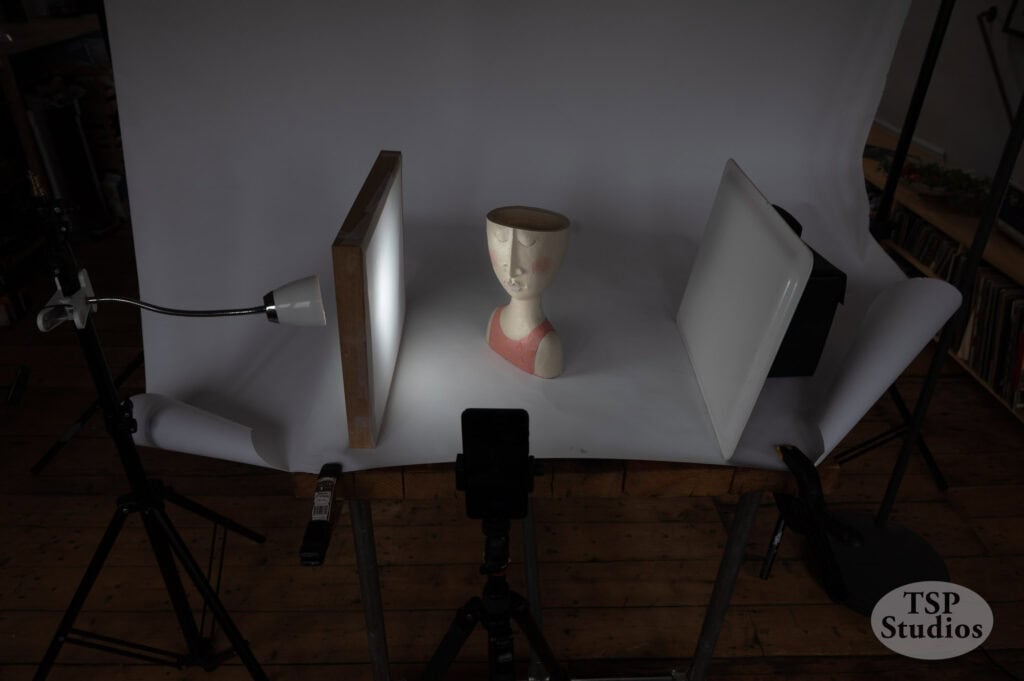
For new businesses taking product photos with a mobile phone, the key is to use a soft, diffused light source. Harsh lighting can create unwanted shadows and reflections, which distract from your product.
Here’s how to achieve great lighting:
- Natural light: Use natural light by positioning your product near a window, but avoid direct sunlight, which can be too harsh. You can soften it by hanging a white sheet or thin curtain over the window.
- DIY diffuser: If you’re using artificial light, place a white piece of paper or cloth between the light and the product to diffuse it.
- Golden hour: If shooting outdoors, aim for the golden hour (the hour after sunrise or before sunset) to get soft, warm lighting that enhances the product’s details.
- Use the largest, softest most diffused light source you have. When using a tripod on manual settings you can use a less bright light source than you may think. Diffusion is the key here.

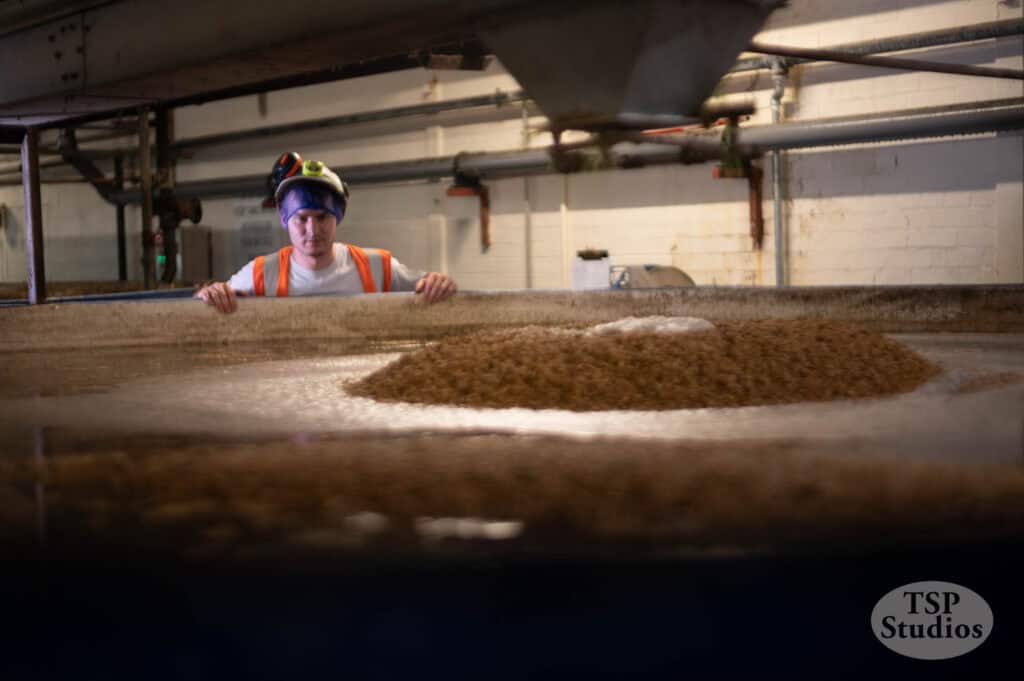
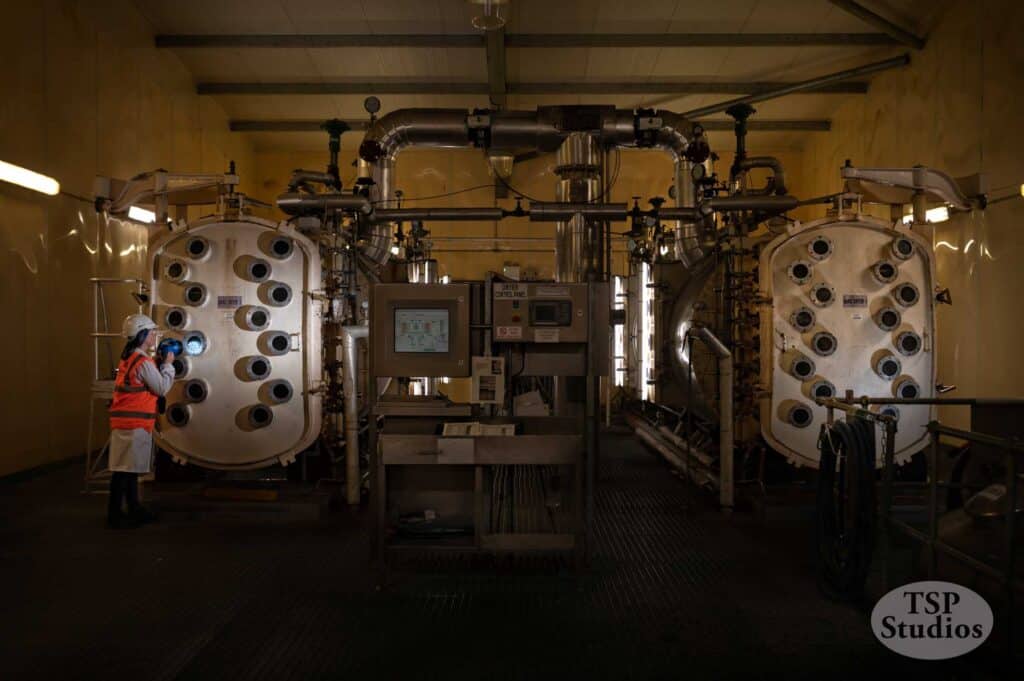
Below is a selection of my photographs-
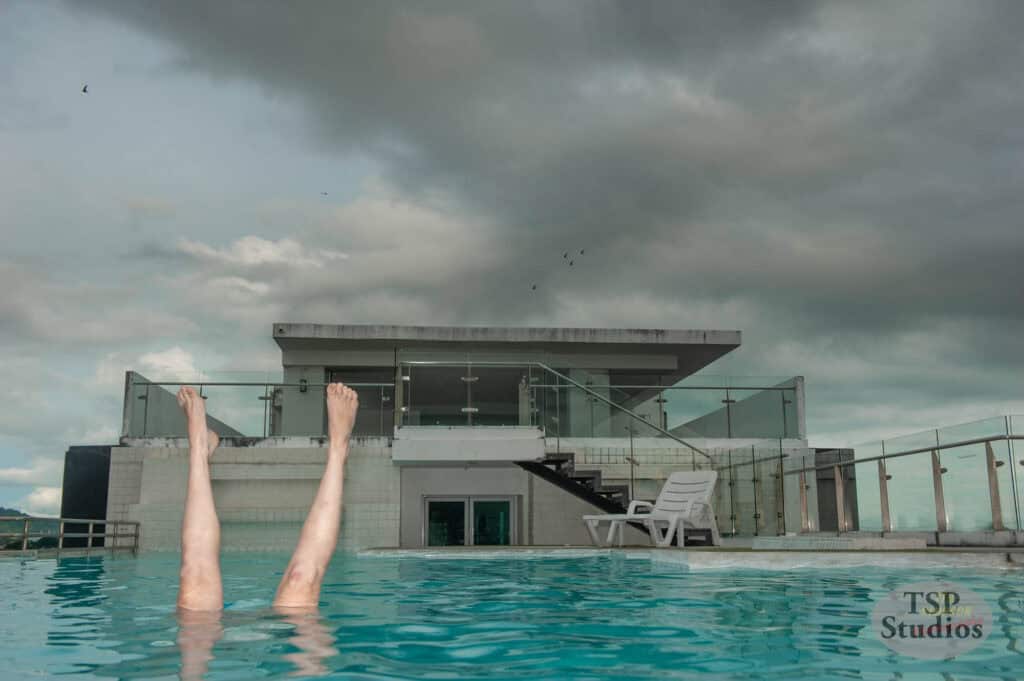
During my talk I covered some of my thought processes and influences when taking my photographs for Tim Simpson Photography. One of the great things about photography is that mistakes are great and rules are there to be broken.
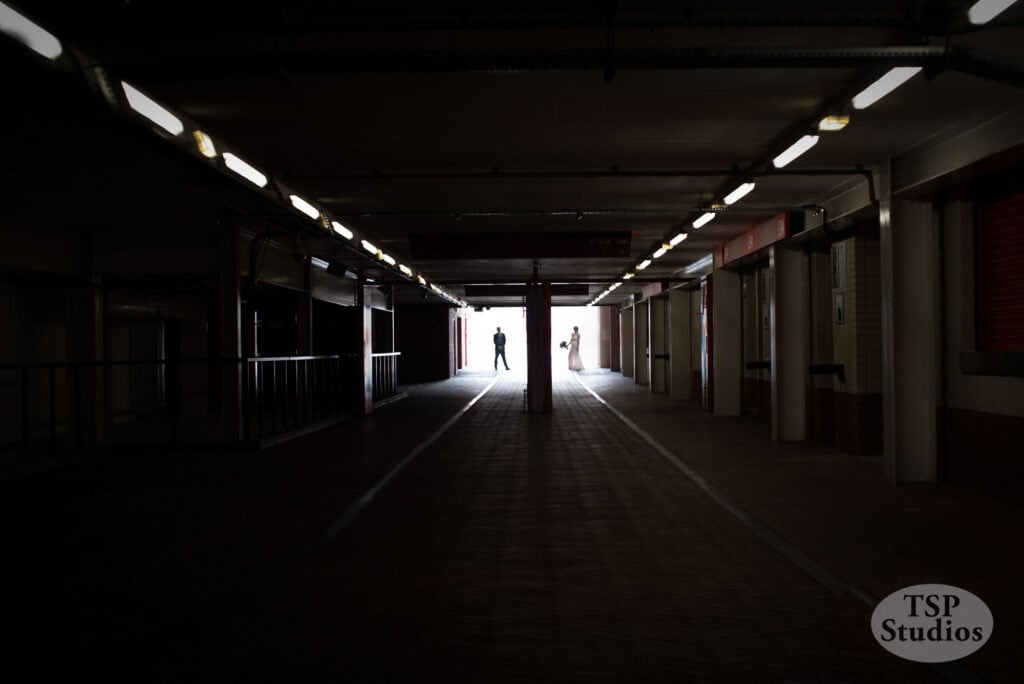
To me if you are not making mistakes you are not pushing yourself forward, breaking your own boundaries. Put yourself out of your comfort zone. I try to learn something every time I pick up a camera, even after over 25 years and a million photographs. It keeps things fresh. Another technique i like to use is shooting through things. I.E put something in the foreground and shoot through/past it. It gives an interest, more depth and a feeling of ‘looking in’ on the subject.
Break the rules.
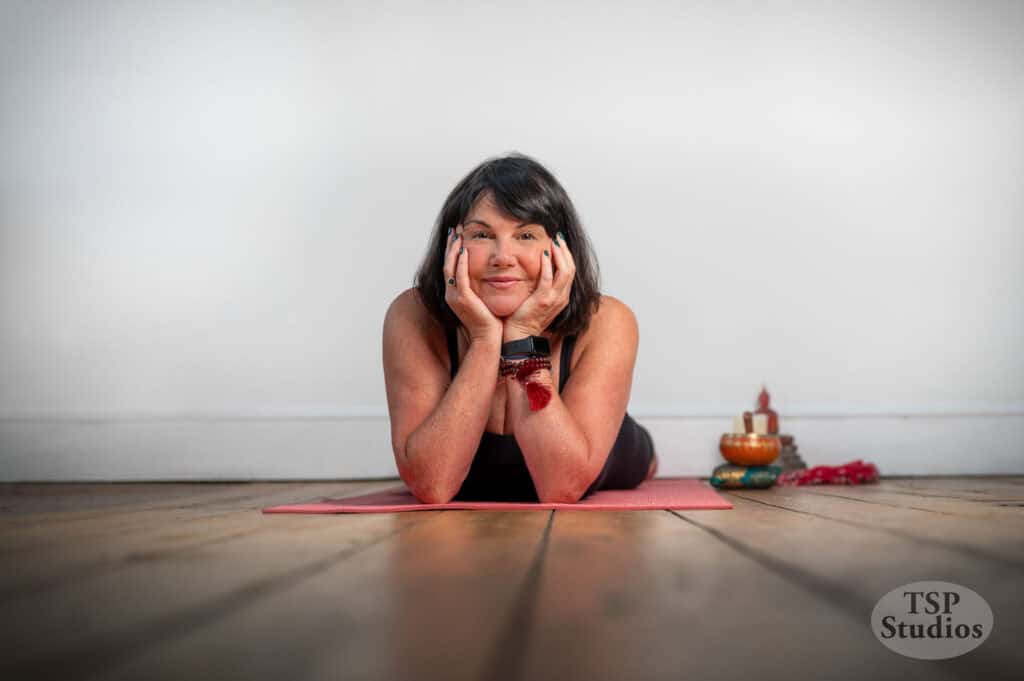
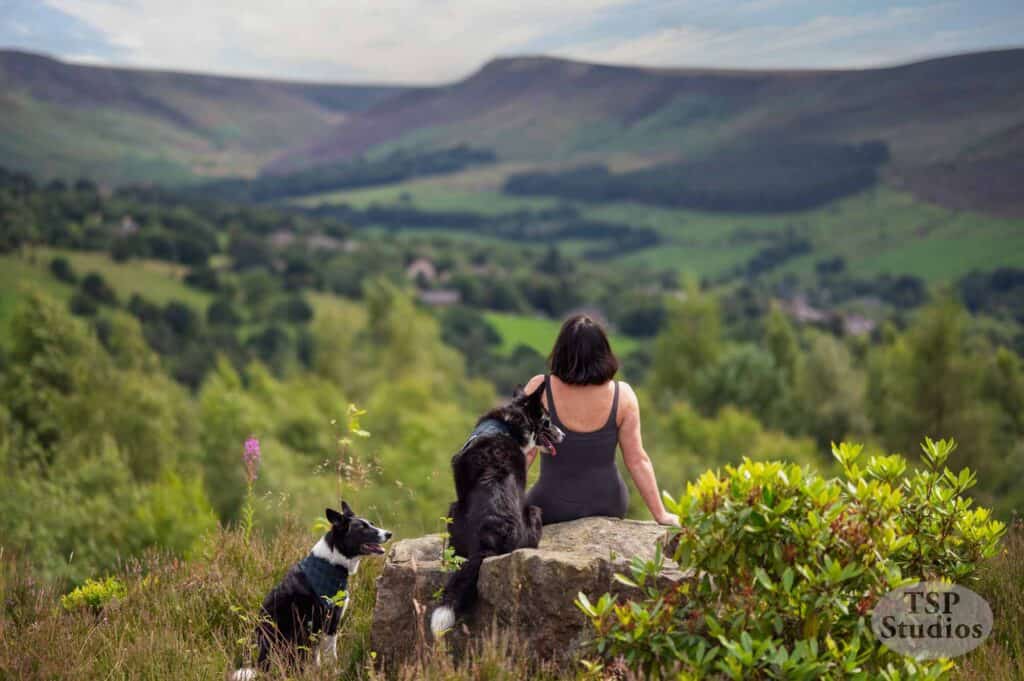
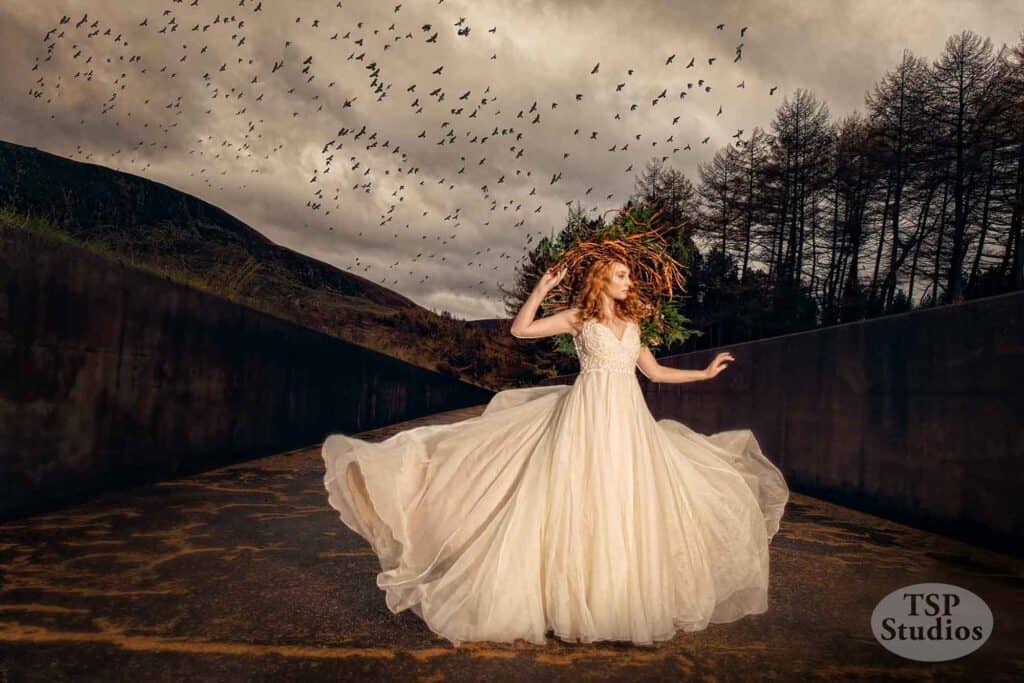
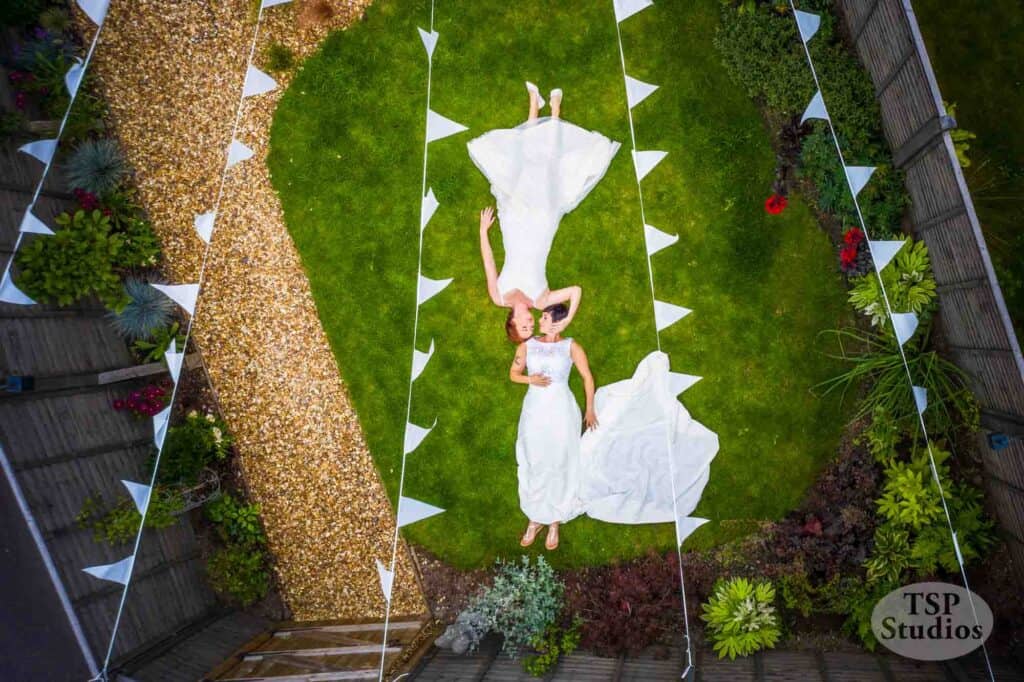
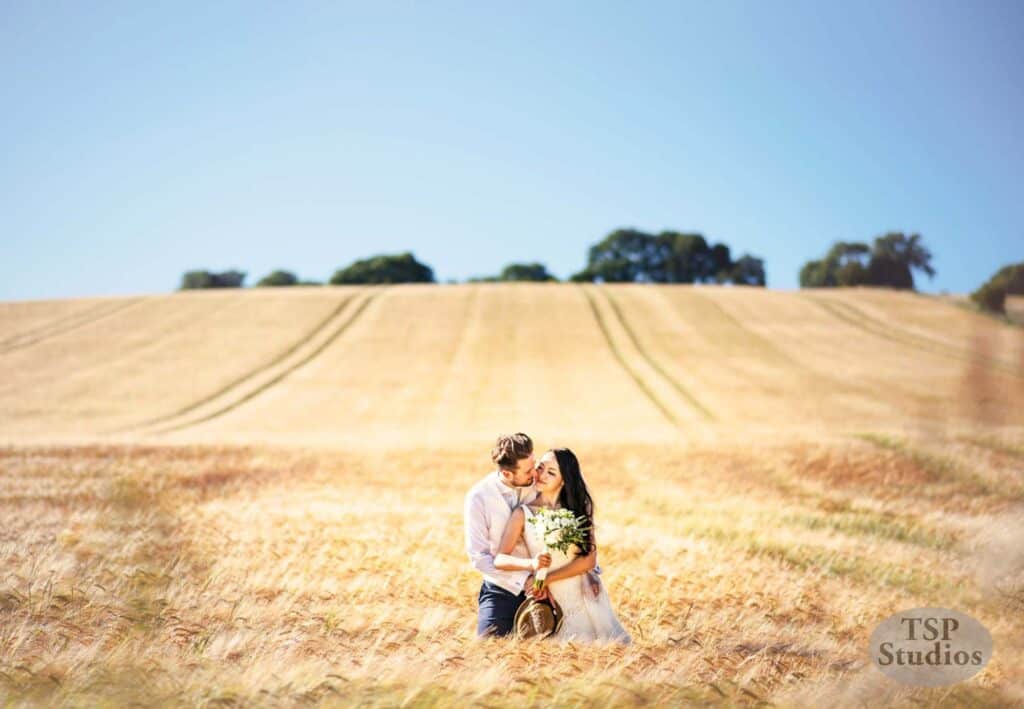
The following is selection of some of my work, some brand photography, automotive photography, weddings and personal images.
Again rules are definitely there to be broken, the rule of thirds is a brilliant aesthetic rule, I seem to use it without thinking, it just feels right. However not every image benefits from this, see if you can spot when the rules are used and when they aren’t –
(tutorial continues below the images)


Hope you enjoyed looking at some of my work.
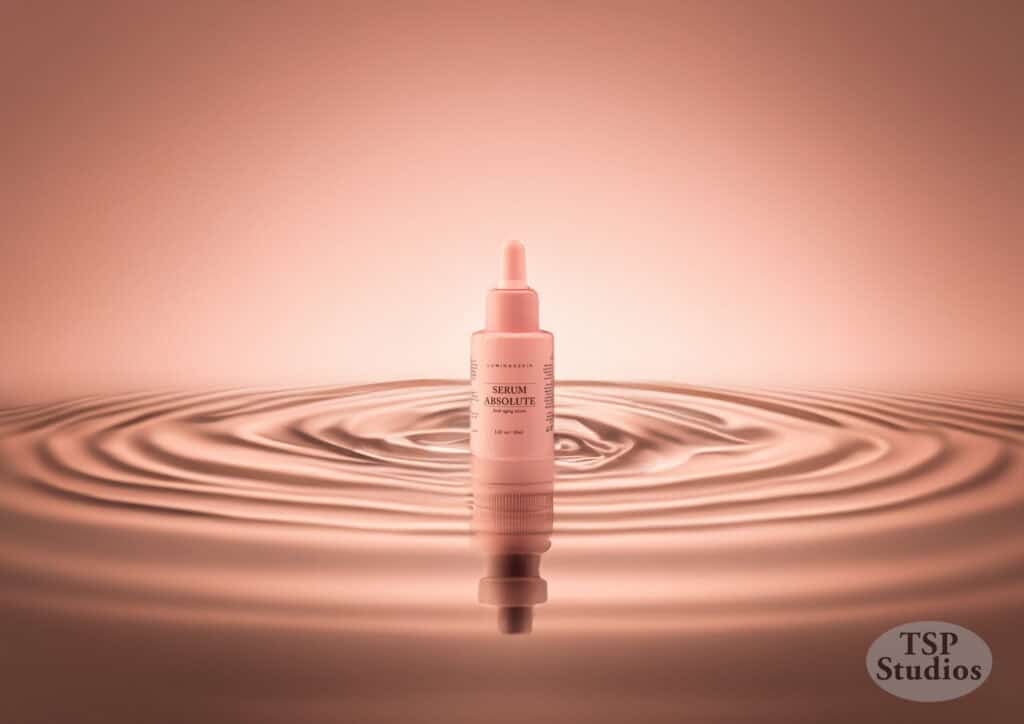
As discussed in my talk AI is now a part of photography, the above were shot in my studio and then given the AI treatment . You will though always need to have a good quality, well exposed image of your product, with good colour rendition. Below is a quick overview of what we discussed during the lecture.
For more on AI please read my blog post detailing the above cosmetics shoot-HERE
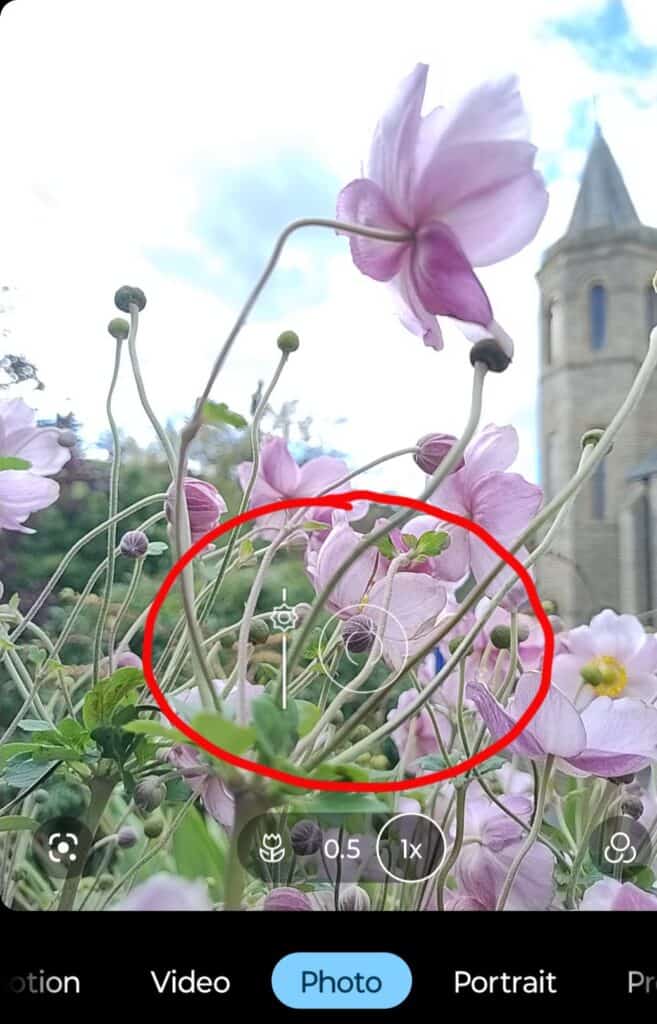
I hardly ever trust the exposure that my expensive pro camera tells me is correct, I override this by using exposure compensation. You can do this on a phone too. Looking at the images below, the camera is trying to expose for the sky, therefore loosing detail in the subject, we want the subject to be correctly exposed, we may have to sacrifice the background but its the subject we are interested in.
The image(s) immediately below image is an example of how to override your phones exposure. without doing that, the flowers would have been very dark.


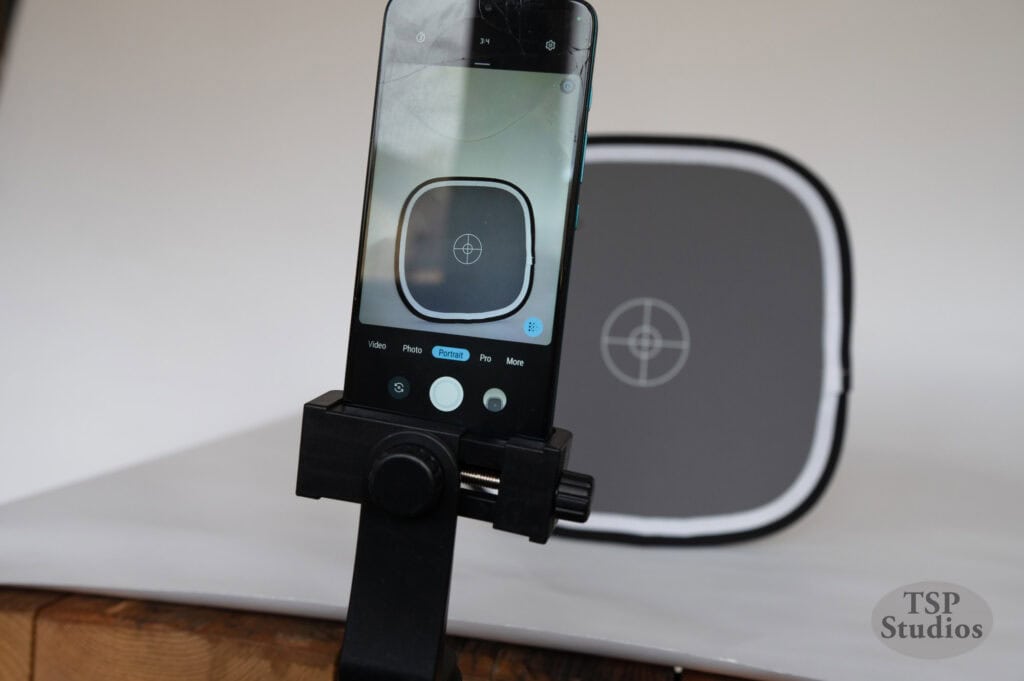
During the lecture I used a tripod and clamp to hold the phone steady. Use the self timer to take the photo to eliminate camera shake when you press the shutter button.
Use the manual settings and the grey card to lock in the correct exposure and colour balance.
If you don’t have Lightroom use the WB- White Balance setting on your camera. Scroll through the various setting i.e cloudy, daylight, shadow etc infill the image on your camera resembles the grey card. You could use auto white balance, see if it matches the grey card (below).


4. Use an 18% Grey Card for Perfect Exposure and Colour
An 18% grey card is an invaluable tool for getting accurate exposure and color balance in your product photography. This card reflects 18% of the light, which is the average value that most cameras use to determine correct exposure. Using it ensures that your product photos won’t be over- or under-exposed, and the colors will appear more natural.
Here’s how to use it:
- Place the grey card in the same lighting setup as your product.
- Use your phone’s camera to take a photo of the grey card.
- Use this photo as a reference to adjust your exposure settings (if your phone allows manual adjustments) or color balance in editing apps like Adobe Lightroom or Snapseed.
- Use manual settings, this way the exposure and the colour balance of your subject will not change
By incorporating an 18% grey card into your workflow, you ensure consistent and professional-looking product images.
5. Optimize Your Background and Props
Your product should be the star of the image, but the background and props play an important supporting role. Choose a background that complements your product without distracting from it. Plain backgrounds, such as white, light grey, or neutral tones, are often best for product photography because they allow your product to stand out.
Tips for creating the right background:
- Clean and simple: Keep the background simple so that it doesn’t overwhelm the product.
- Props that tell a story: Use minimal props that enhance the narrative of your product. For example, if you’re photographing artisanal coffee, include coffee beans or a cup, but avoid clutter.
- Consistent style: Make sure your background and props are consistent with your brand’s style and aesthetic.
- Paper backgrounds like the ones demonstrated in the talk are relatively cheap, you can even make your own.
6. Editing Your Photos for a Polished Finish
Once you’ve captured your photos, the final step is editing. Use apps like Snapseed, VSCO, or Lightroom Mobile to enhance your images. You can:
- Adjust brightness and contrast to make your product pop.
- Fix color balance using the grey card reference image.
- Crop to refine your composition, ensuring the rule of thirds is followed.
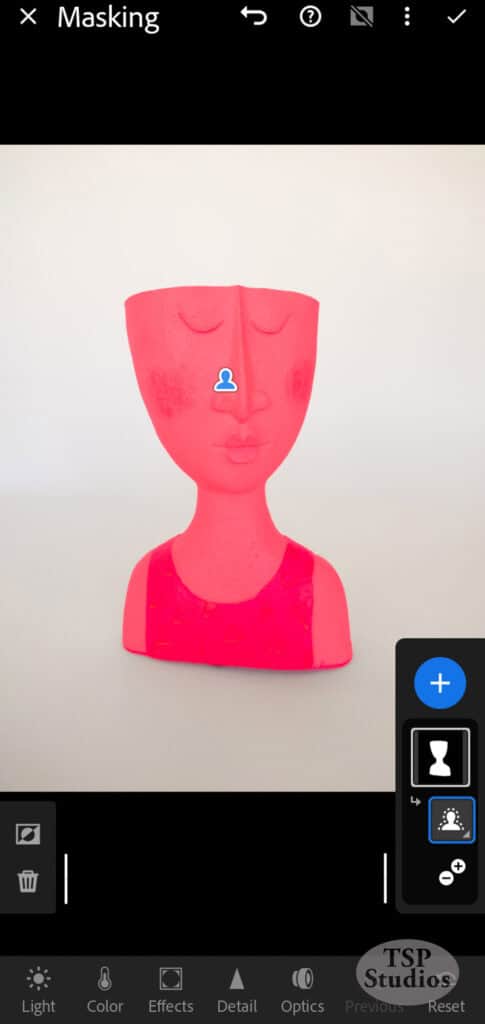
- Select the subject in Lightroom to sharpen and increase contrast etc of your subject. You can also invert the selection to work on the background. Simply up the exposure to get a pure white background, blur the background or change colour etc.
- A Vignette works well to draw the eye into the subject.
Remember not to over-edit. Keep the adjustments natural and true to the product.
There are a host of AI apps and programmes available to give you any background you can dream of. You still have to photograph your product faithfully initially however, this will never change.
Final Thoughts
Taking professional-looking product photos with a mobile phone is entirely possible with the right approach. By mastering the rule of thirds, using leading lines, and understanding how lighting can enhance your images, you can create visually stunning product photos that resonate with your audience. Don’t forget to use tools like the 18% grey card to get the best possible exposure and color accuracy.
As a startup, these techniques will help you create compelling product imagery that elevates your brand and engages your customers. Start experimenting with your mobile camera today, and watch your product photos shine!
By following these tips, you’ll be well on your way to mastering mobile product photography and giving your business the visual presence it deserves.
At TSP studios I give group and private tuition on all types of photography. Please get in touch to discuss your needs.